Four ways to make a two-sided piece
The simplest method is single-sided printing with show-through. A flag is printed on one face of thin polyester, and the ink penetrates far enough that the image is visible from the back. This is cheap and light, and for many flags it is acceptable. But the back shows a mirror image, so text reads backward, and colors on the back are noticeably paler. For logos, text and sponsor messages, that is often not good enough.
The second method is to print two separate pieces and sew them together. Each piece shows a correct image. The result reads correctly on both sides, but it uses twice the fabric and ink, adds sewing labor, and produces a heavy flag that does not fly well in light wind. Aligning the two pieces so the edges match also takes time.
The third method is the banner equivalent: print two sheets of banner media and laminate, weld or glue them back to back. It gives a stiff, durable result for hanging and pole banners, but again doubles the material and adds a finishing step. Laminated banners are heavy and the two layers can separate over time at the edges.
The fourth method is double-sided printing: one machine prints the front and back of a single sheet in one job. On fabric, the result is a single-layer flag with a full, right-reading image on each face. Both faces are printed in the same job, so they line up, and nothing needs to be sewn, welded or laminated afterward.
For a print shop, the difference shows up in three places. Material: one sheet instead of two, plus no adhesive. Process: one print job instead of two plus joining. Labor: no sewing or lamination step, which is often the slowest part of producing two-sided flags and banners.
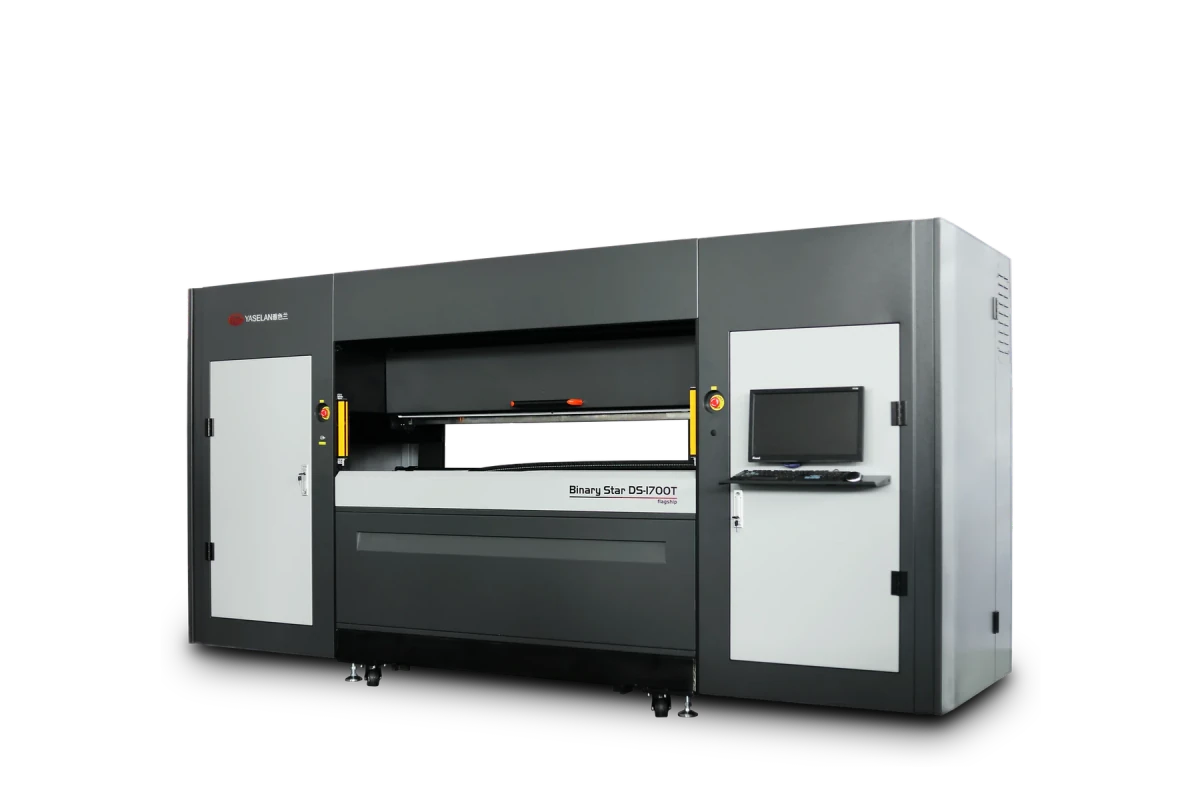
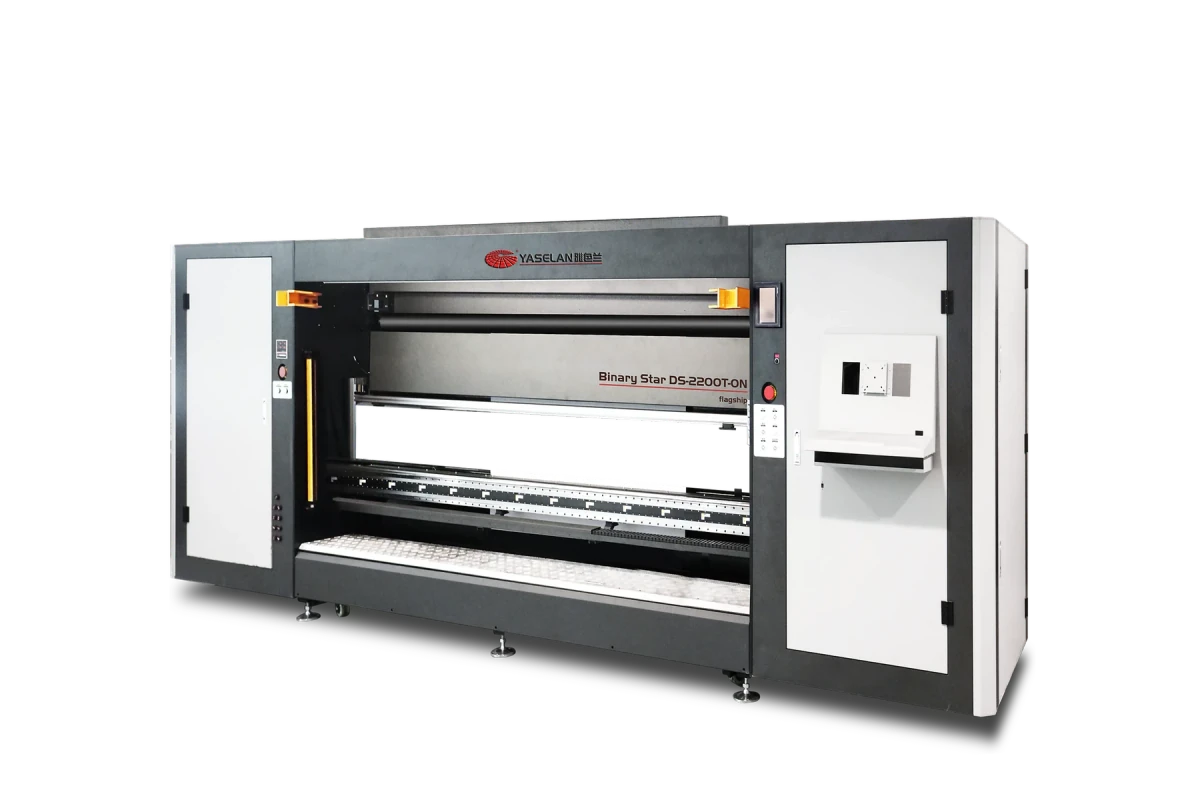
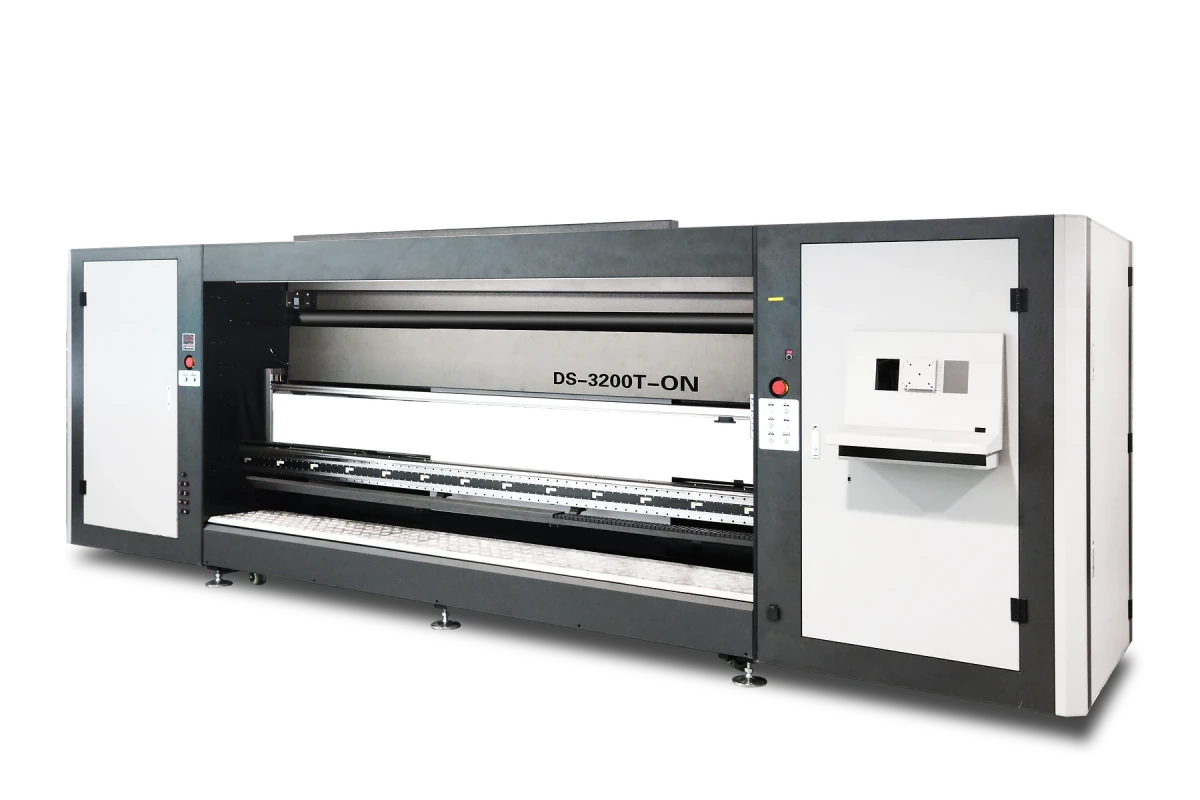
Double-sided printing does need a printer built for it. Our flag and textile printers have two print carriages, one for each face of the fabric. The next section explains how they work.
How double-sided printing works
A double-sided printer has to solve two problems: putting ink on both faces of the media and making the two images line up.
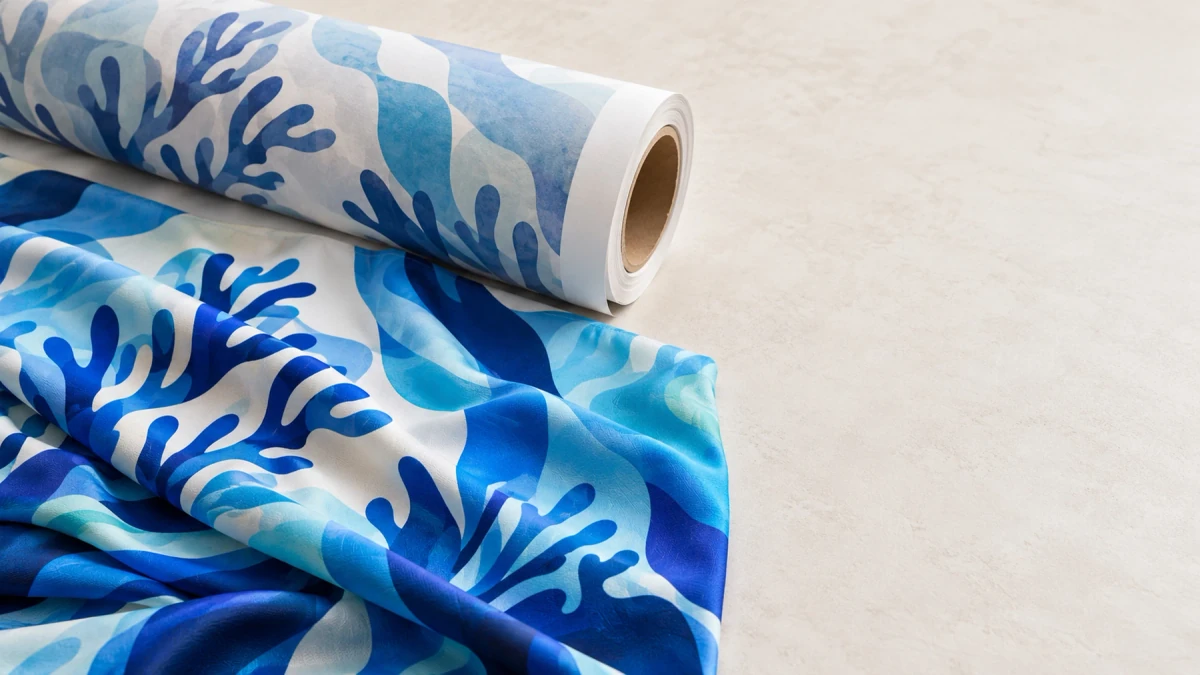
On our flag and textile printers, the fabric runs roll to roll between two print carriages, one for each face. Because both images are printed in the same pass through the machine, they stay in register: a flag's emblem on the front sits exactly behind the emblem on the back. The fabric is dried before and after printing, with the temperature set for each fabric, so it leaves the printer ready for fixing and finishing. With disperse ink printed directly onto polyester, the ink penetrates the fibers, and on flag fabric the result is a single light layer with a strong image on each side.
Our printers let you set the artwork for each face in the same job. There are three common combinations. Same image, same color: the classic double-sided flag or banner, identical on both faces. Same image, different color: useful for backlit fabric, where the back may be printed lighter or darker to control how the image looks when lit. Different image, different color: two separate designs, such as two languages, a sponsor on one side and event details on the other, or a different pattern on each side of a room divider.
Speed depends on the machine, the heads and the print mode; each model page lists the speed for every mode. Widths run from 1,600 mm to 3,200 mm, so our double-sided printers cover everything from hand flags to wide stage backdrops.
Artwork and finishing tips
Good double-sided pieces start with artwork prepared for both faces. Supply the front and back as separate files, or as clearly named pages in one file, at the same size. Keep important elements, such as logos and text, away from the edges, where hems, pole sleeves and eyelets will go. A safe margin of a few centimeters on flags and more on large banners avoids cutting through a word.
When the back should mirror the front exactly, make sure text on the back file reads correctly from the back side. The printer prints what you send for each face, so a correct back file gives a correct back image. When the two faces carry different designs, check that their outlines match: a flag with a crest on the front and text on the back still needs both elements to sit inside the same shape.
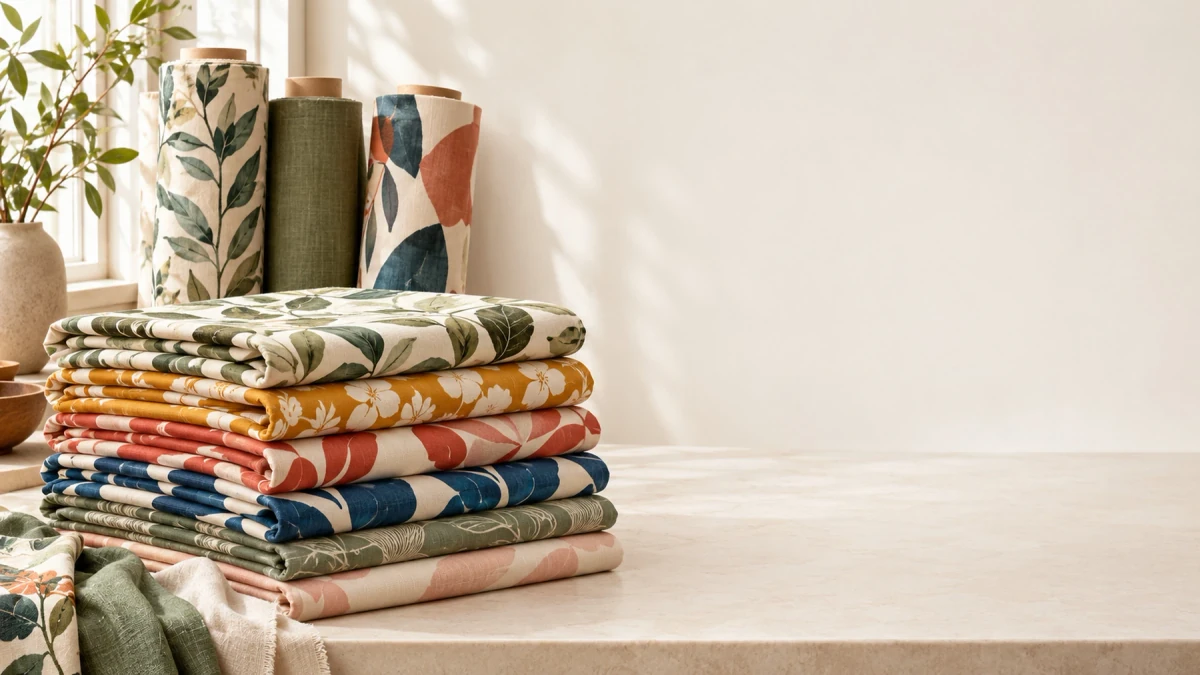
For flags, choose fabric suited to direct disperse printing and to the conditions where the flag will fly. Light knitted polyester flies well in low wind; heavier woven polyester lasts longer in strong wind. Print a test on the fabric you plan to use, check color and both-side registration, and adjust the color settings for each face if needed.
When each face carries a different image, print a test first: on thin fabric, a strong image on one face can show through to the other. For backlit displays, print on lightbox cloth and check the result both with the light on and off.
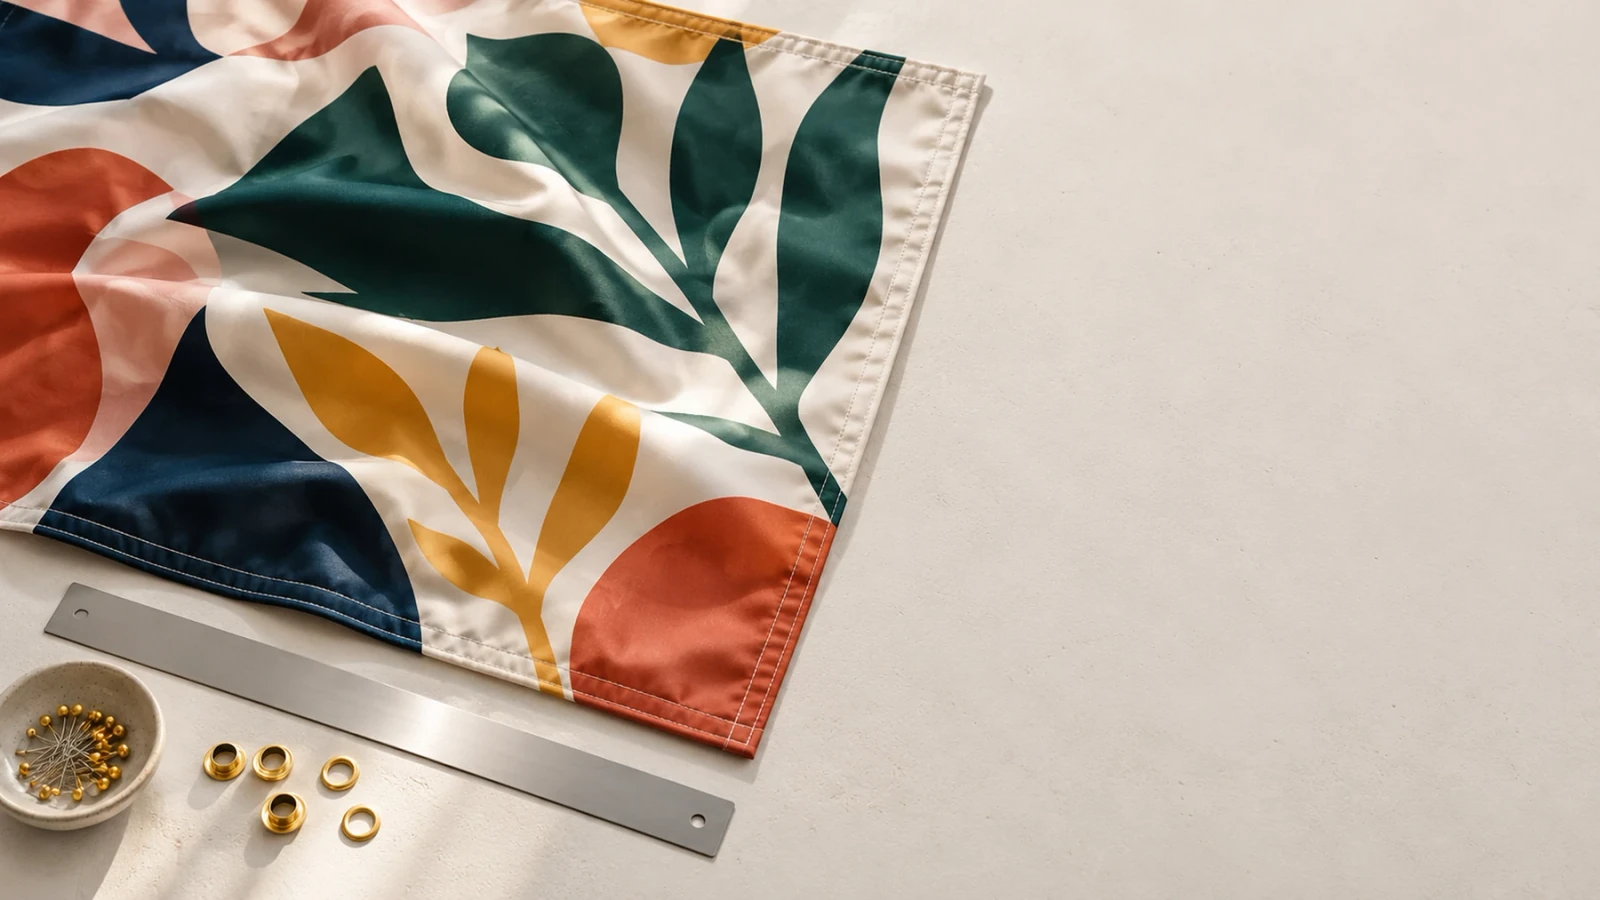
Finishing for double-sided pieces is the same as for single-sided ones, minus the joining step. Textile flags need ink fixing as required by the fabric, then cutting, hemming and a pole sleeve or grommets. Because there is only one layer, hems are thinner and lighter, sewing is faster, and the finished piece hangs flat.
Finally, plan production around the printer's modes. Use sketch or production mode for event flags and street banners viewed from a distance, and high resolution mode for pieces seen up close, such as indoor flags and retail displays. With artwork prepared for both faces and the right mode chosen, a double-sided printer turns what used to be two print runs and a sewing job into a single pass through one machine.